C++ 环境搭建 - Qt
1 准备工作
1.1 Qt 5.12.x
以Qt5.12为例,其他版本类似
1.2 SDK下载
请联系客户顾问获取。
1.3 示例代码下载
请联系客户顾问获取。
2 CMake项目配置
完整的CMakeLists.txt文件详见示例文件
3 代码修改
3.1 预编译头文件
pch.h或者stdafx.h中增加:
#include "AnyUIQt.h"


// 名字空间简写
namespace Ad = anycore;
1
2
3
4
5
2
3
4
5
3.2 SDK初始化和释放
在 int main函数中初始化:
int main(int argc, char *argv[])
{
	std::filesystem::path path(argv[0]);
	Ad::GlobalInstance::Initialize(Ad::Path::A2W(path.string()));

	QApplication a(argc, argv);
	MyMainWindow w; //主窗口
	w.show();

	int ret = a.exec();
	Ad::GlobalInstance::Destroy();

	return ret;
}
1
2
3
4
5
6
7
8
9
10
11
12
13
14
15
16
17
2
3
4
5
6
7
8
9
10
11
12
13
14
15
16
17
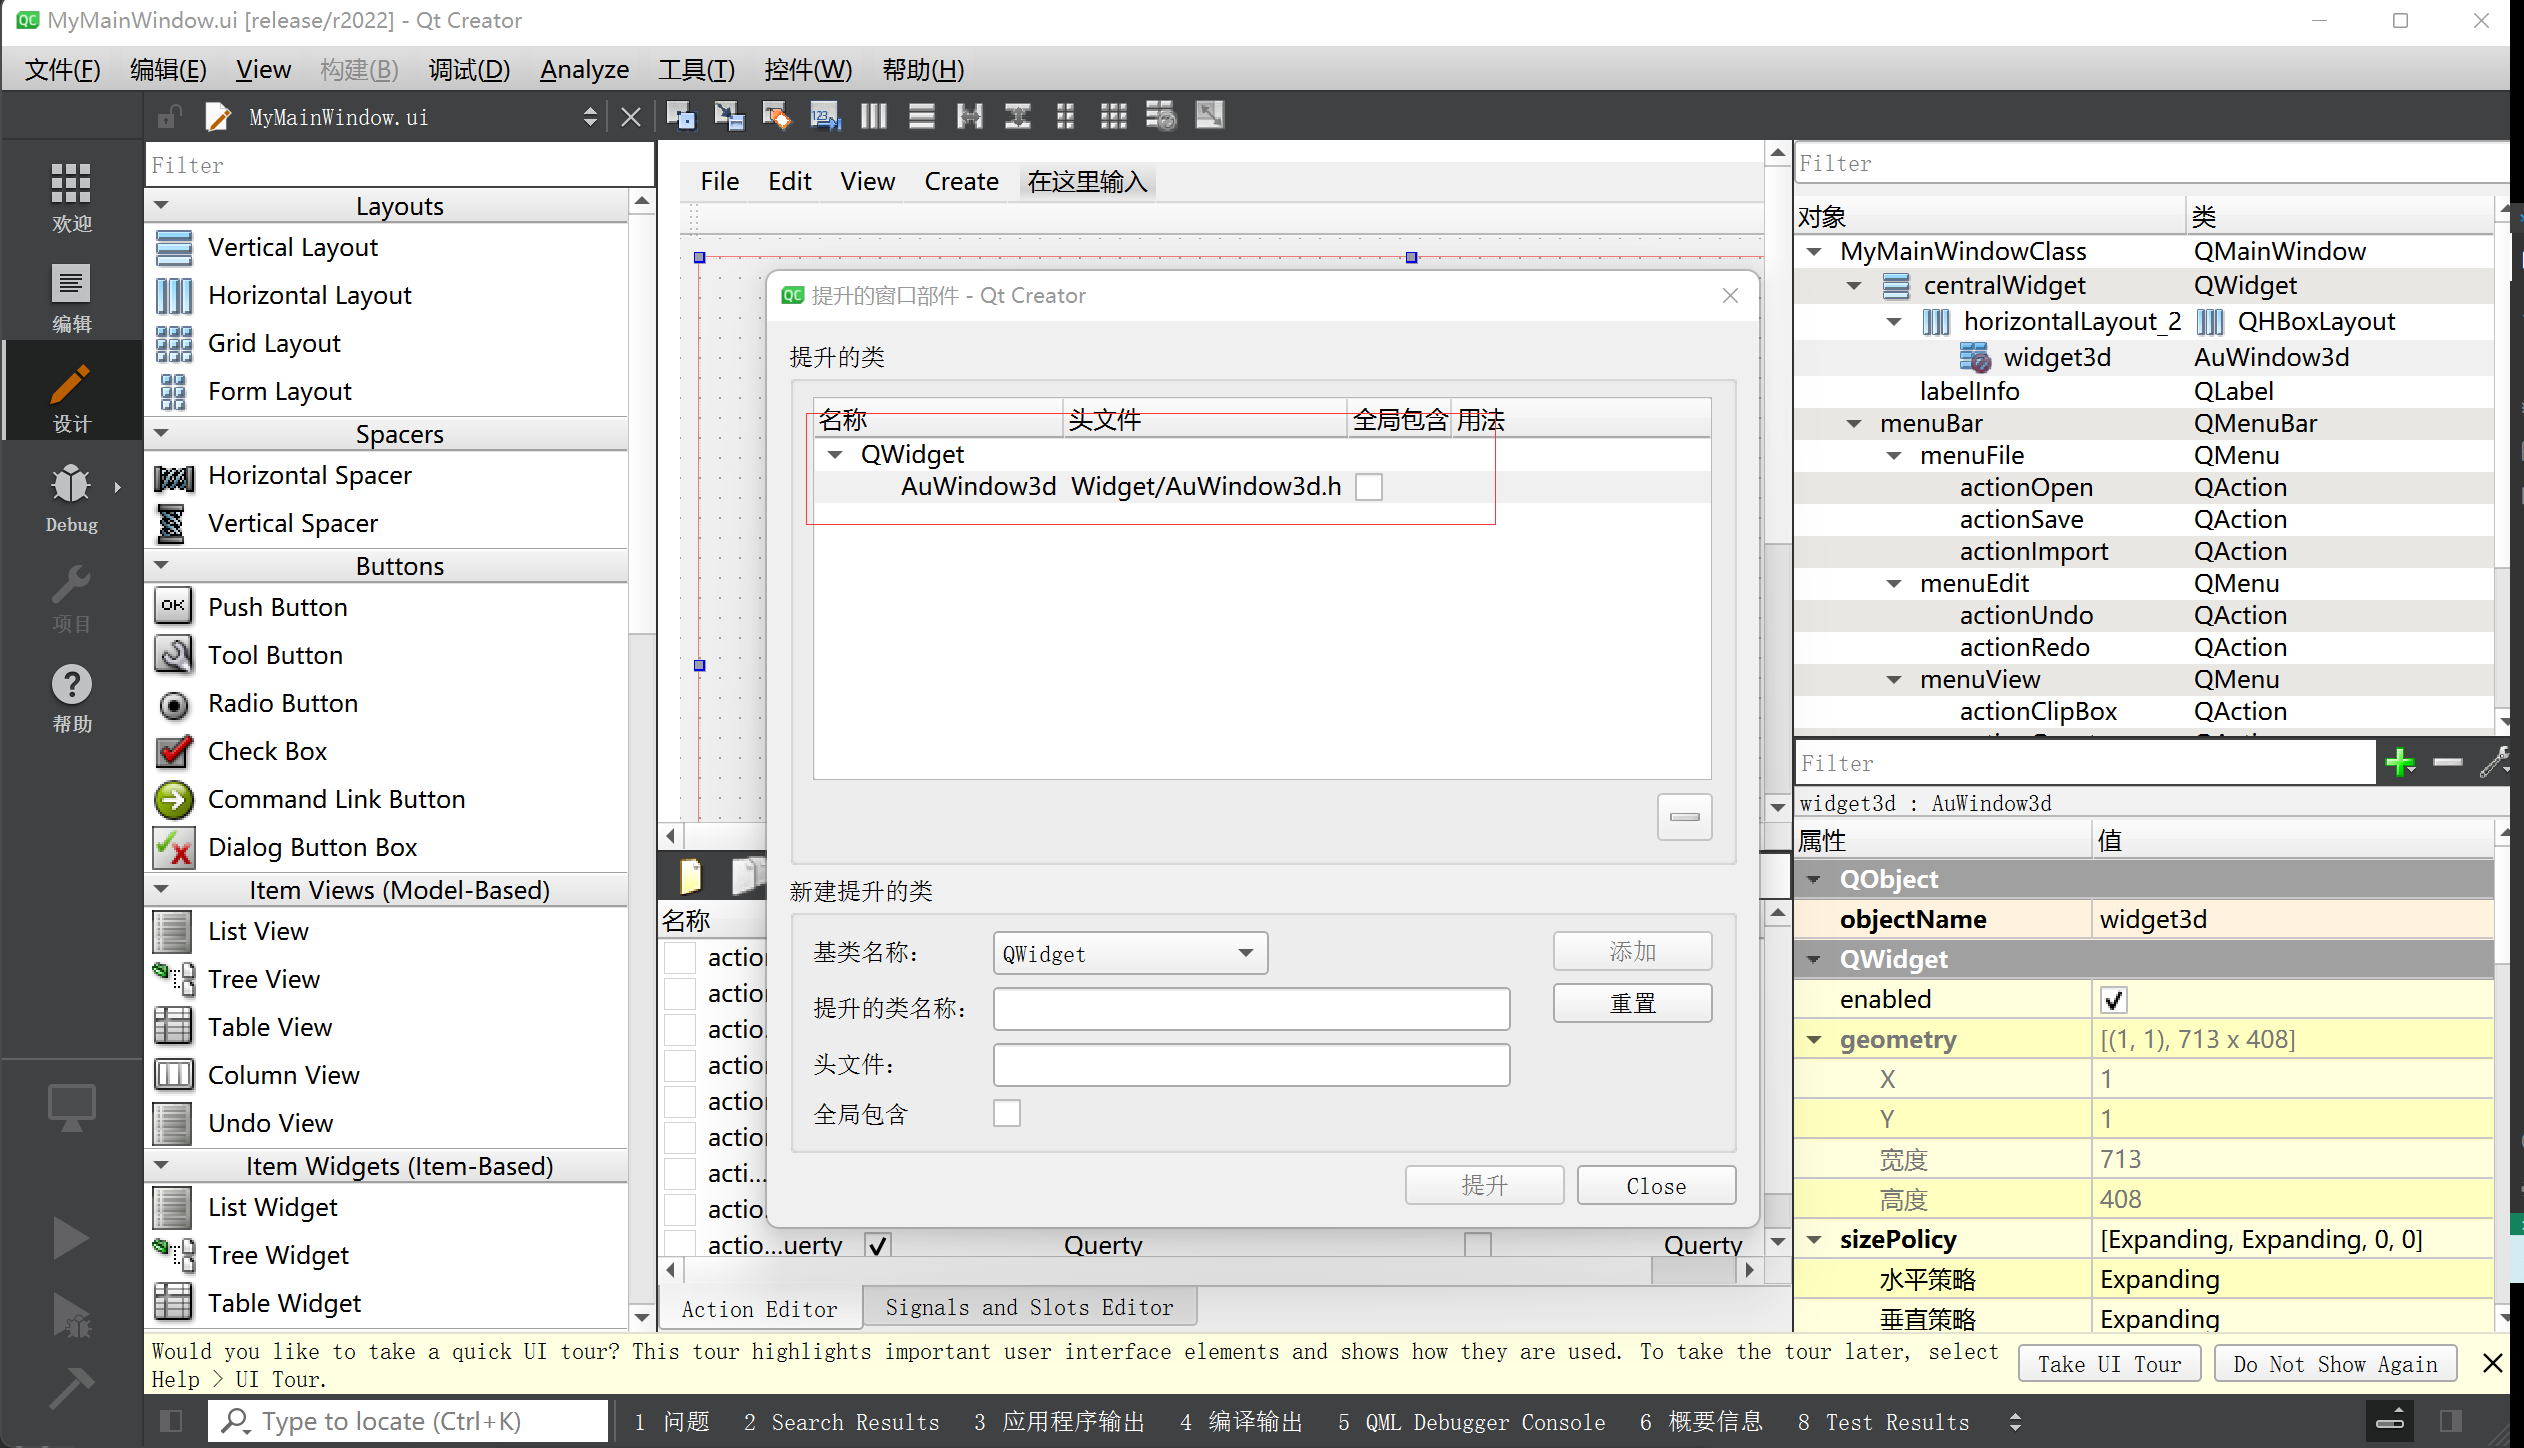
3.2 View初始化
在.ui文件中增加AuWindow3d控件。选择一个QtWidget控件后提升为AuWidget3d控件:
响应一下图元选择命令:
MyMainWindow::MyMainWindow(...)
{
	...
	ui.widget3d->SelectionChanged = [this](const anycore::PickedResult& item)
	{
		this->SelectionChanged(item);
	};

	...
}
1
2
3
4
5
6
7
8
9
10
2
3
4
5
6
7
8
9
10
3.3 导入一个模型
void MyMainWindow::ImportModel()
{
	auto fileName = QFileDialog::getOpenFileName(this, "Open", "", "Model Files(*.stp)");
	if (fileName.isEmpty())
		return;

	auto shape =  Ad::ShapeIO::Open(fileName.toStdWString());
	if(!shape)
		return;

	auto node = Ad::BrepSceneNode::Create(shape, nullptr, nullptr);

	ui.widget3d->GetScene()->AddNode(node);

	ui.widget3d->GetViewer()->ZoomToExtend();

	ui.widget3d->RequestUpdate(Ad::EnumUpdateFlags::Scene);
}
1
2
3
4
5
6
7
8
9
10
11
12
13
14
15
16
17
18
19
20
2
3
4
5
6
7
8
9
10
11
12
13
14
15
16
17
18
19
20
4 编译&运行
编译通过后,可以得到如下的界面:
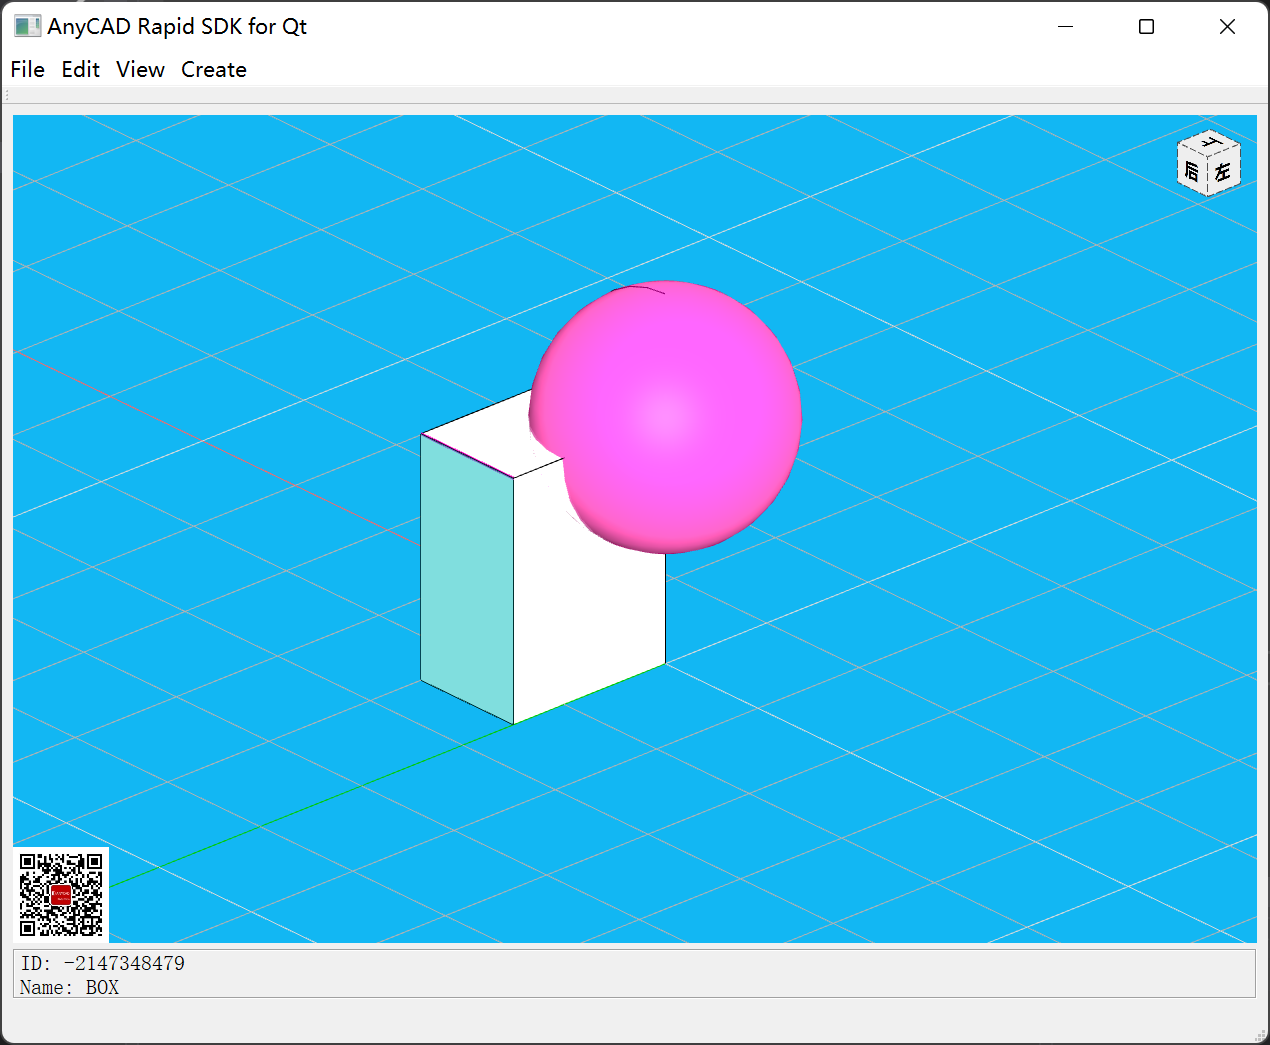
通过AuWindow3d的GetViewer()方法可以得到显示控件,即可跟.NET一样操作三维窗口。